
How to Create Views In SharePoint
Editor’s note: This article was published in 2019 and has been updated for accuracy and comprehensiveness as of January 2021.
Let’s take a look at how to use custom views to locate files in SharePoint document libraries.
What is SharePoint Online?
SharePoint Online allows organizations to create, store, organize, and share content on the web. Because of this, it’s an excellent platform to share information and communicate broadly across the company using intranet sites, pages, lists, and document libraries.
SharePoint Document Libraries
Document libraries within SharePoint provide a web-based space for users to upload documents to be shared with other people in the organization. Companies frequently use document libraries to publish company-wide information such as HR documents, policies, and self-service information. Additionally, departments within an organization can use document libraries in SharePoint team sites to store and collaborate on files specific to their department.
Document Library Best Practices
Best practice for document libraries in SharePoint is to keep things as flat as possible. What does “keeping things flat” mean, exactly? Simply put, it means avoiding a nested folder structure. Using a folder structure can hinder navigation, usability, and increase the possibility of file duplication.
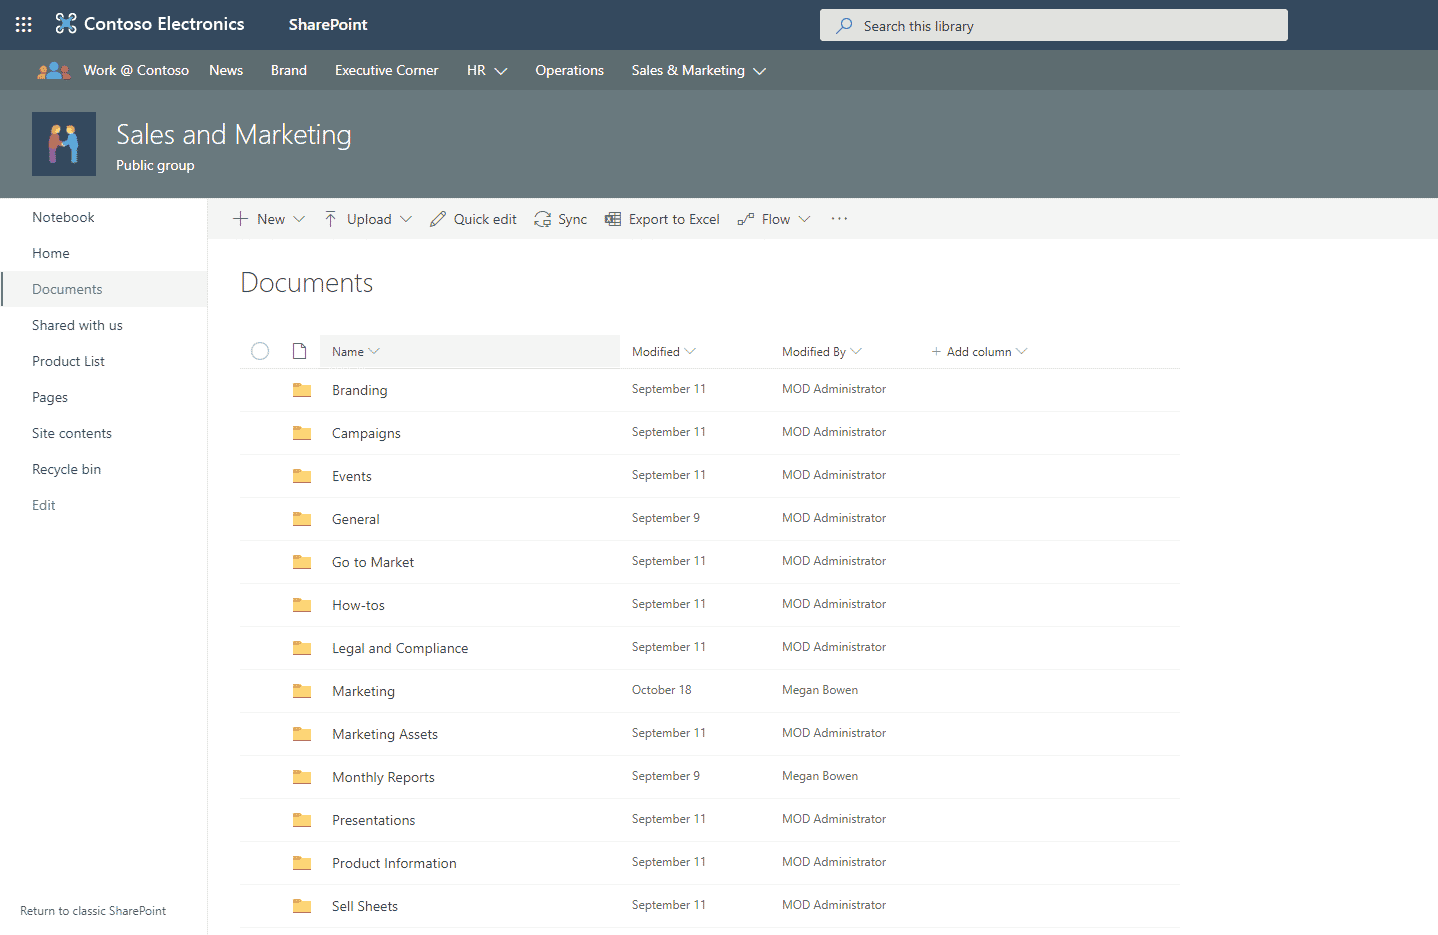
However, in my experience, avoiding a folder structure is rarely the reality. As you and your team start using SharePoint, eventually (or maybe already) your document library might start to look something like this:
The natural thing most of us do to organize files is to create a folder tree. Simply accessing a report might look something like this:
Documents > Monthly Reports > Australia > January 2019 > X1050 Product > Australia Sales
It took me 5 clicks to arrive at the document I was looking for. Sound familiar? If you are in a role that requires you to engage with these documents frequently, this could seriously interrupt your workflow. Additionally, we can only remember so many elaborate file paths to locate documents.
Think about training in new team members. How much of the process is simply training employees on how to find the documents they need to do their job? What can we do to streamline this experience? We can create a custom view of a document library to display files in a way that makes sense to you.
Create custom views in SharePoint to locate your files
Your SharePoint files already have built-in, default metadata. In short, metadata provides information about an item’s content and can be used to describe the attributes of a file. For example, file type, file name, modified date, and modified by are all examples of built-in metadata in SharePoint files.
Using this information, you can create views for the different files you’re frequently searching for and accessing.
How to create custom views in SharePoint
To create a custom view, navigate to the document library in SharePoint that you would like this view to apply to. For this example, let’s say you’re in a role that requires you to interact with a lot of reports and spreadsheets. To help you access these files, you would like to create a view that shows you all the Excel documents in a document library be collapsing all the folders and only displaying Excel documents.
To create this specific custom view, click the “All Documents” drop-down in the top right-hand corner, and select “Save As.”
Enter a name for this custom view. You might want to call it “Excel Documents.”
Select the new view you created, and click “Edit current view.” This will launch an “Edit View” window.
The goal here is to create a view that:
- Shows all items in the library without folders, and
- Shows Excel documents only
In the filter section, select “show items” only when the following is true. Select “Type” in the dropdown menu beneath “show the items when column”. After that, ensure the dropdown menu is set to “equal to” and type in .xlsx. To ensure we’re covering our bases, select “or” and repeat the process, but instead of file extension .xlsx, type in .xls (to ensure all Excel versions are in this view).
Next, navigate to the Folders section, and select “Show all items without folders.”
Select save.
Now, when this view is selected, the dozens of folders you would have needed to sort through to access Excel documents are collapsed, only displaying Excel documents that were nested in this folder tree.
Conclusion
This is just a simple example of how to use custom views in SharePoint to help locate files. Think about your daily workflows – where can you use custom views to gain efficiencies and locate files easier and more quickly?